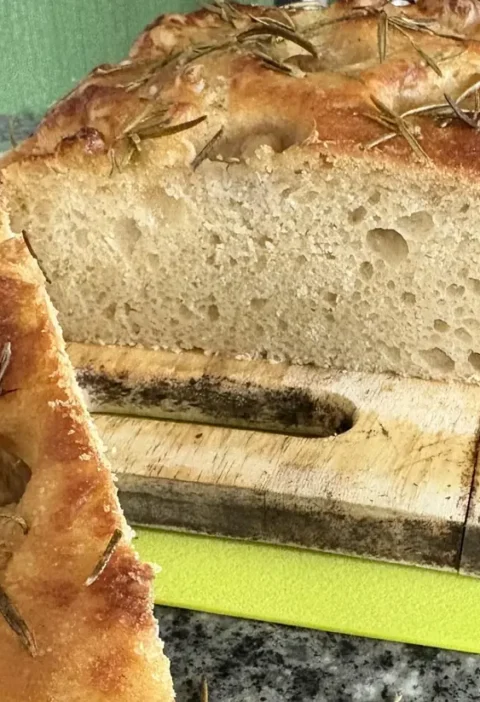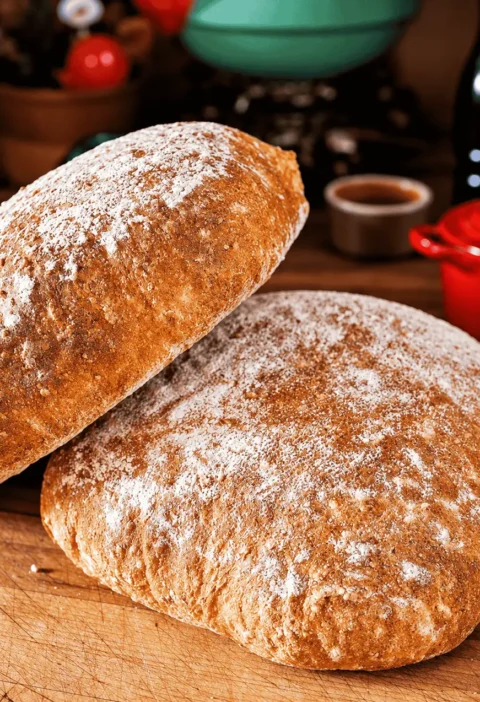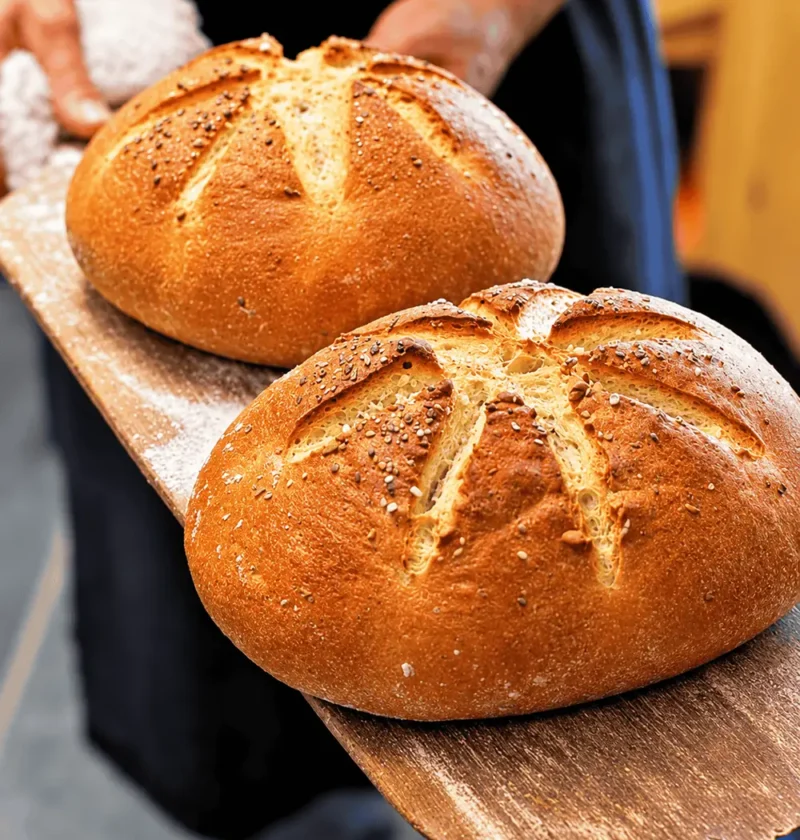
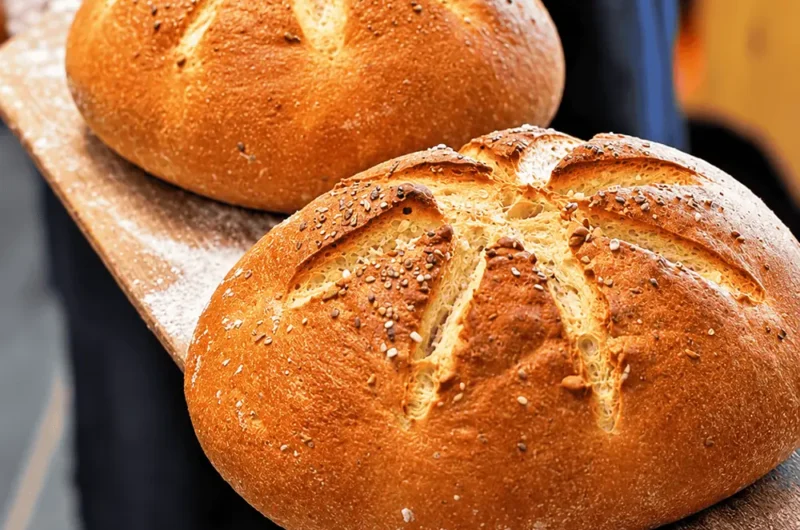
This rosemary bread is two round loaves with a crackly crust, made from a yeast dough with rosemary and olive oil, ready in 4 hours 45 minutes. It’s easy to freeze one loaf for later.
Why This Recipe Works
The yeast sits in warm water for 10 minutes before anything else goes in. When it turns creamy, you know it’s alive, and you won’t bake two loaves that never rise.
Stir the rosemary into the flour first, then add the flour to the wet mix in 3 or 4 batches. The herb spreads evenly through the dough, and the flour hydrates without lumps.
The loaves rise only 45 to 55 minutes the second time, and they should not fully double. Slightly underproofed dough still has the strength to spring up in the oven. You get tall, round loaves instead of flat ones.
Rosemary Bread Ingredients
- 3 3/4 teaspoons (10.6 g) active dry yeast
- 1 cup (240 g) warm water
- 1 cup (244 g) milk, at room temperature
- 1/4 cup plus 1 teaspoon (60 g) olive oil
- 3 1/2 to 4 tablespoons finely chopped fresh rosemary, or 1 1/2 tablespoons dried rosemary
- 4 teaspoons (20 g) salt
- About 6 2/3 cups (900 g) unbleached all-purpose flour
- 1 to 1 1/2 teaspoons coarse sea salt
- Cornmeal, for the baking stone (optional)
How To Make Rosemary Bread
Make the dough
- Wake the yeast: Stir the yeast into the warm water in a large bowl. Leave it for about 10 minutes, until it looks creamy and a little foamy.
- Add the wet mix: Pour in the milk and the olive oil and stir. The milk should be at room temperature, so it doesn’t chill the yeast.
- Combine the flour: Whisk the flour, salt and rosemary in a second bowl, so the herb spreads evenly. Stir this into the yeast mixture in 3 or 4 batches until a dough forms.
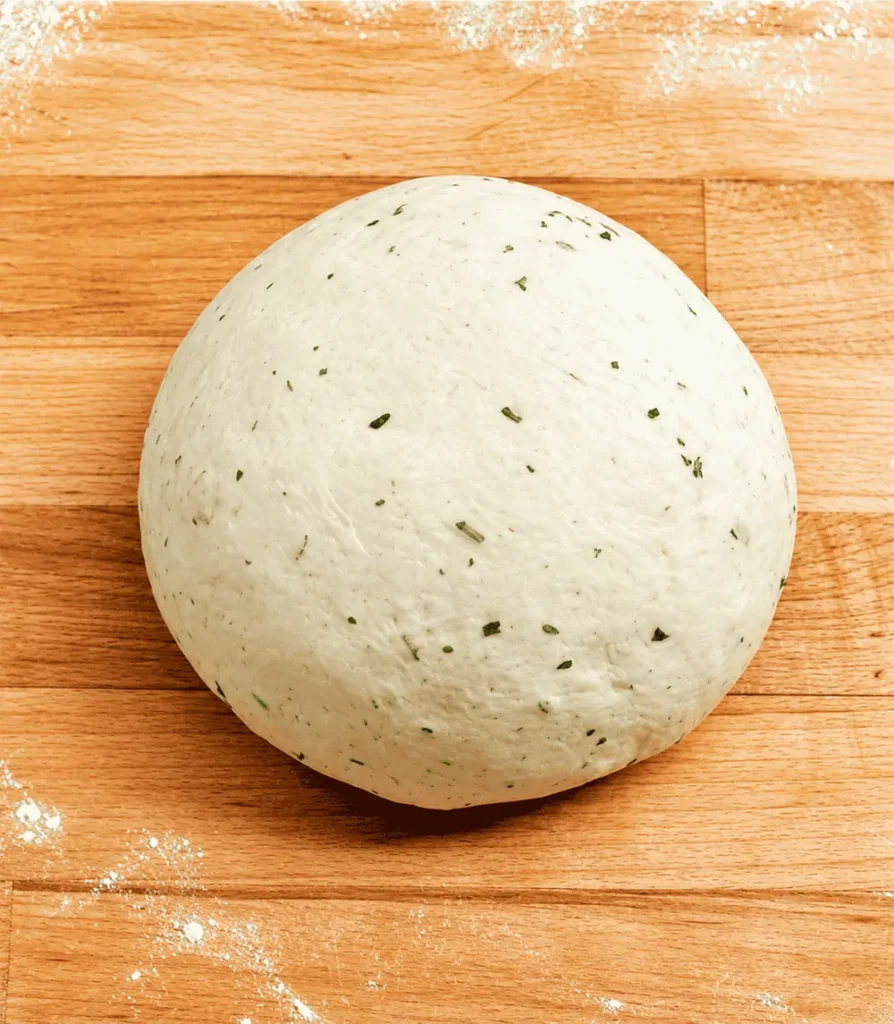
- Knead: Knead the dough on a floured surface for 8 to 10 minutes. It’s ready when it feels velvety, elastic and smooth, still slightly moist, with small blisters showing.
Let it rise and shape the loaves
- First rise: Put the dough in an oiled bowl and cover it tightly with plastic wrap. Let it rise for about 1 1/2 hours, until it has doubled.
- Shape: Tip the dough onto a lightly floured surface and press it flat with your palms. Don’t knead it. Divide it into two equal pieces, then tuck each piece into a tight round ball.
- Second rise: Set the loaves on a lightly floured peel or a lightly oiled baking sheet and cover them with a towel. Let them rise for 45 to 55 minutes. Stop before they fully double, or they won’t spring up well in the oven.
Bake
- Heat the oven: Heat the oven to 450°F (230°C). With a baking stone, turn the oven on 30 minutes ahead. Sprinkle the stone with cornmeal just before the loaves go on.
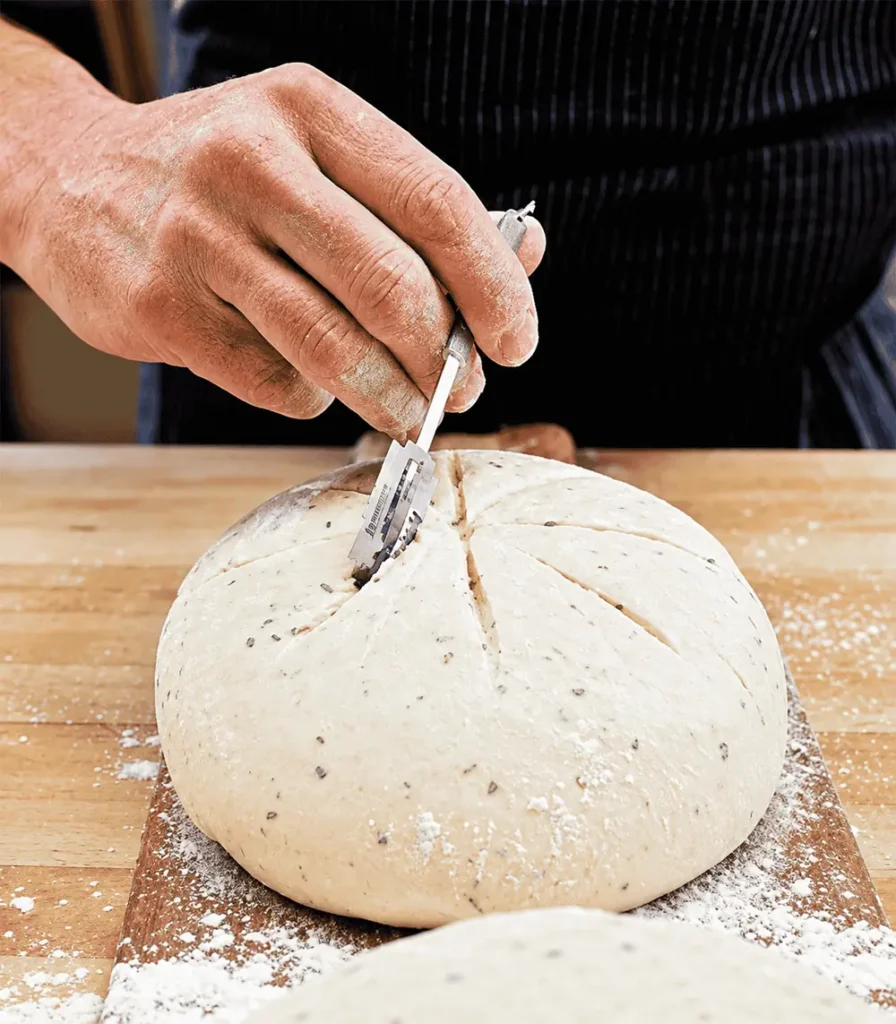
- Score and salt: Just as the loaves are ready for the oven, slash a star into the top of each one with a razor blade. Push half of the sea salt into the slashes on each loaf.
- Bake with steam: Bake for 10 minutes, spraying the oven with water three times. The steam keeps the crust soft while the loaves spring up.
- Finish baking: Lower the heat to 400°F (200°C) and bake for 30 to 35 more minutes. Move the loaves to wire racks and let them cool completely.
Recipe Tips
- Use a razor blade: A sharp blade cuts the star without dragging the dough. Make the cuts deep enough that they open up in the oven.
- Watch the second rise: If the loaves double, they lose their spring and bake up flat. Pull them at 45 minutes if your kitchen is warm.
- Spray the oven fast: Open the door only for a moment each time you spray. Letting the heat escape slows the first 10 minutes of the bake.
- Fresh or dried rosemary: Fresh gives the clearest flavor, so chop it very fine. If you use dried, use the smaller amount in the list, since it is stronger.
What To Serve With Rosemary Bread
Tear off a piece while it’s still slightly warm and dip it in good olive oil with a pinch of salt. It also goes well next to a bowl of minestrone, or with roast chicken and its pan juices.
How To Store
- Counter: Keep a cooled loaf in a paper bag or wrapped in a towel for up to 2 days. A plastic bag softens the crust.
- Freezer: Wrap a fully cooled loaf tightly and freeze it for up to 3 months. Thaw it on the counter, then warm it in a 350°F (175°C) oven for about 10 minutes to bring back the crust.
FAQs
Can I use dried rosemary instead of fresh?
Yes. Use 1 1/2 tablespoons of dried rosemary in place of the fresh. Dried rosemary is more concentrated, so don’t swap it one for one.
Do I need a baking stone to make this bread?
No. A lightly oiled baking sheet works fine. A stone gives the bottom crust a little more crunch, and the cornmeal keeps the loaves from sticking to it.
Why didn’t my rosemary bread rise well?
The most common cause is dead yeast, which is why it stands in warm water first and should turn creamy. Water that is too hot can also kill it. Letting the shaped loaves rise too long makes them collapse in the oven.
Can I make the dough ahead of time?
The recipe doesn’t use a cold rise, so the safest way is to bake both loaves and freeze one. Once cooled, wrap it well and it keeps for up to 3 months.
Nutrition
Estimated per serving (1 of 2), worked out from the ingredients.
- Calories: about 210 kcal
- Total Fat: 5g
- Total Carbohydrate: 35g
- Dietary Fiber: 2g
- Protein: 6g
Rosemary Bread
Two round rosemary loaves with a crisp, salted crust and a soft, herby crumb. A yeast bread that takes about 4 hours 45 minutes with rising and makes enough for 2 meals.
2
servings30
minutes3
hours45
minutes255
minutesIngredients
3 3/4 teaspoons (10.6 g) active dry yeast
1 cup (240 g) warm water
1 cup (244 g) milk, at room temperature
1/4 cup plus 1 teaspoon (60 g) olive oil
3 1/2 to 4 tablespoons finely chopped fresh rosemary, or 1 1/2 tablespoons dried rosemary
4 teaspoons (20 g) salt
About 6 2/3 cups (900 g) unbleached all-purpose flour
1 to 1 1/2 teaspoons coarse sea salt
Cornmeal, for the baking stone (optional)
Directions
- Wake the yeast: Stir the yeast into the warm water in a large bowl. Leave it for about 10 minutes, until it looks creamy and a little foamy.
- Add the wet mix: Pour in the milk and the olive oil and stir. The milk should be at room temperature, so it doesn’t chill the yeast.
- Combine the flour: Whisk the flour, salt and rosemary in a second bowl, so the herb spreads evenly. Stir this into the yeast mixture in 3 or 4 batches until a dough forms.
- Knead: Knead the dough on a floured surface for 8 to 10 minutes. It’s ready when it feels velvety, elastic and smooth, still slightly moist, with small blisters showing.
- First rise: Put the dough in an oiled bowl and cover it tightly with plastic wrap. Let it rise for about 1 1/2 hours, until it has doubled.
- Shape: Tip the dough onto a lightly floured surface and press it flat with your palms. Don’t knead it. Divide it into two equal pieces, then tuck each piece into a tight round ball.
- Second rise: Set the loaves on a lightly floured peel or a lightly oiled baking sheet and cover them with a towel. Let them rise for 45 to 55 minutes. Stop before they fully double, or they won’t spring up well in the oven.
- Heat the oven: Heat the oven to 450°F (230°C). With a baking stone, turn the oven on 30 minutes ahead. Sprinkle the stone with cornmeal just before the loaves go on.
- Score and salt: Just as the loaves are ready for the oven, slash a star into the top of each one with a razor blade. Push half of the sea salt into the slashes on each loaf.
- Bake with steam: Bake for 10 minutes, spraying the oven with water three times. The steam keeps the crust soft while the loaves spring up.
- Finish baking: Lower the heat to 400°F (200°C) and bake for 30 to 35 more minutes. Move the loaves to wire racks and let them cool completely.